
Key Takeaways
Wood blinds look beautiful, but real wood needs a lighter touch than faux wood. Identify the material first, follow the care instructions, and clean with as little moisture as possible.
- Confirm whether the slats are real wood or faux wood before choosing a cleaner.
- Dust regularly with a microfiber cloth, soft duster, or brush attachment.
- Use a barely damp cloth for marks, then dry each slat right away.
- Avoid steam, soaking, abrasive scrubbers, and harsh chemicals.
- Call a window treatment professional when the finish, cords, or hardware needs more than routine care.
Understand your blinds before cleaning
The safest way to learn How to clean wood blinds is to start with the blinds themselves. Materials, finishes, and care instructions vary, so a method that works for one window covering may damage another. Take a few minutes to identify what you have before reaching for a spray bottle.
Tell real wood apart from faux wood
Real wood usually has a natural, irregular grain, and each slat may look slightly different. Faux wood is manufactured to resemble wood and often has a more repeated grain pattern; it is also more resistant to moisture and damage. Made in the Shade offers both Wood Blinds made from genuine hardwoods and Faux Wood Blinds that resemble wooden blinds, so the distinction matters when planning care.
If you are uncertain, inspect the edges and the back of a slat without bending it. A product label, order record, or installer may also settle the question. When there is still doubt, treat the blind as real wood and use the gentlest method.
Check the manufacturer’s care instructions
Look for the original care sheet, a label on the headrail, or the manufacturer’s online instructions. Some finishes have specific restrictions, and a warranty may depend on following them. A useful wood blind care guide can help you compare basic dusting and cleaning steps, but your own product instructions should take priority.
Pay close attention to warnings about steam, solvents, soaking, and abrasive products. If the instructions recommend a particular wood preservative, use it only as directed and only on a finish that allows it.
Gather the right cleaning tools and supplies
A small kit keeps the process controlled. You do not need a cabinet full of products; soft, clean tools are usually more useful than powerful cleaners. Lay everything out before lowering the blinds so you are not moving around with a wet cloth in hand.
| Tool or supply | Best use | Caution |
|---|---|---|
| Microfiber cloth | Dusting and light spot cleaning | Use a clean one to avoid grit |
| Soft duster | Quick maintenance between deeper cleans | Do not press hard on slats |
| Vacuum brush attachment | Removing heavier loose dust | Keep suction gentle |
| Mild cleaning solution | Small marks on a compatible finish | Apply to the cloth, not the blind |
After gathering the supplies, check that the cloths are free of buttons, zippers, or trapped debris. This simple preparation helps prevent fine scratches while you work.
Prepare the blinds for a safe clean
Preparation is where much of the damage prevention happens. A stable blind is easier to dust evenly, and a protected work area keeps drips or loosened dust from creating another chore. Work in good daylight, especially if the slats have a glossy or dark finish.
Close and position the slats correctly
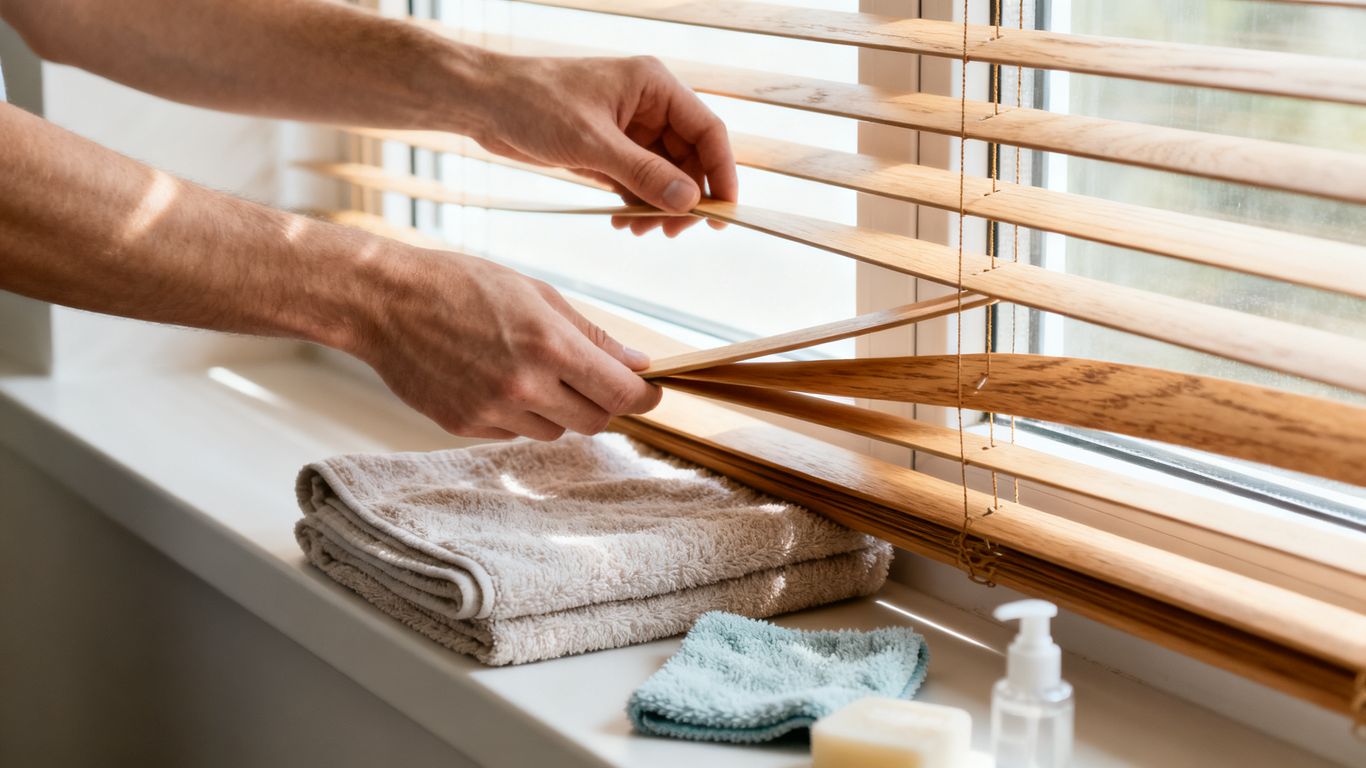
Lower the blind fully if the design allows it, then tilt the slats so they are nearly closed without pressing them tightly together. This exposes the surface while reducing gaps where dust can fall. Clean one side first, then reverse the tilt and repeat on the other side.
Move the control gently. If the tilt mechanism feels stiff, stop rather than forcing it. Cleaning should not require twisting the cords, wand, or headrail.
Protect nearby walls, floors, and furniture
Move lamps and small objects away from the window. Place a clean towel or sheet beneath the blind if you are doing spot cleaning, and keep the sill clear so the slats can rest without catching on anything. For tall windows, use a stable step stool rather than leaning sideways from a chair.
Keep the cleaning solution close but not directly above the blind. A capped container reduces the chance of an accidental spill, especially when several windows are being cleaned in one session.
Test your cleaning method in an inconspicuous spot
Every finish deserves a small test. Dampen a corner of a clean cloth, apply the intended solution to the cloth, and touch a hidden area such as the back edge of a lower slat. Wait until it dries before judging the result.
Look for clouding, color transfer, tackiness, or a change in sheen. If you notice any of these, stop and return to dry dusting or consult the care instructions. A short test is far cheaper than repairing an entire set of blinds.
Remove dust from wood blinds
Dust is usually the main reason wood blinds look dull. It also settles in the corners and along the top edges where a quick pass can miss it. Start with dry cleaning, and save moisture for marks that a cloth cannot lift.
Use a microfiber cloth or soft duster
A microfiber cloth or soft duster can pick up everyday dust without scraping the finish. Hold the slat lightly and use smooth strokes rather than scrubbing back and forth. A clean, dry tool is especially helpful on painted finishes, where embedded grit can leave visible marks.
For a broader routine, regular blind dusting is a sensible starting point. It keeps buildup from becoming sticky and makes occasional deeper cleaning shorter and easier.
Clean each slat from end to end
Work methodically from the top slat downward. Support the slat near its center and wipe from the hinge side toward the outer edge, then return to the next slat. Overlapping strokes are better than quick circles because they follow the grain and make missed areas easier to spot.
Do not bend the slats to reach behind them. Tilt the blind to expose the opposite surface, and change cloths when one becomes visibly dusty. Reusing a loaded cloth simply moves grit around.
Vacuum carefully with a brush attachment
A vacuum with a soft brush attachment is useful when dust has collected heavily or when the window is near carpeting or a shedding pet. Keep the nozzle just above the slat or use the lowest practical suction. Let the brush do the lifting instead of pressing the plastic fitting into the finish.
Vacuum in the same top-to-bottom order used for hand dusting. If the brush attachment is dirty, clean it first; a dusty brush can leave a gray trail across pale paint.
Deep-clean wood blinds without damaging the finish
Deep cleaning should be occasional, not the default. Once loose dust is gone, you can deal with fingerprints and film using a controlled amount of moisture. The goal is a clean surface that dries quickly, not a wet wash.
Choose a gentle cleaning solution
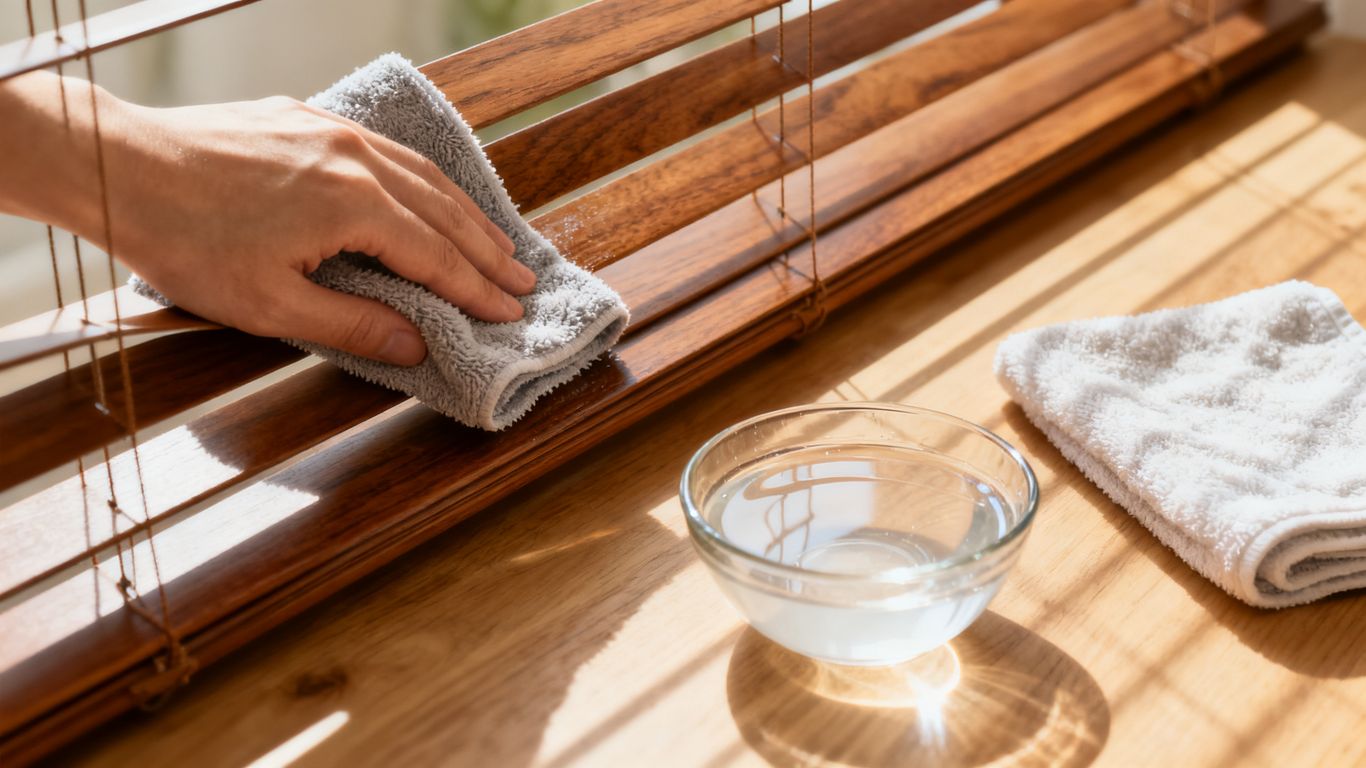
Begin with the least aggressive option: a clean cloth lightly moistened with water, unless the care instructions say otherwise. For a compatible finish, a small amount of mild soap diluted in water may help with grime. Never assume that a strong household cleaner is better for finished wood.
Put the solution on the cloth rather than spraying the slats. This gives you control over how much liquid reaches the surface and helps protect nearby walls, glass, and hardware.
Wipe with minimal moisture
Wring the cloth until it feels barely damp, then work on a small area at a time. Use straight, gentle strokes and avoid leaving liquid along the ends or in the ladder-string openings. If the cloth drags, stop and reduce the moisture rather than applying more pressure.
For a visual refresher, this cleaning demonstration may be useful:
Once a small section is clean, inspect it from an angle before continuing. A finish can look fine when wet but show streaks after it dries, so steady pacing is worth it.
Dry the slats immediately after cleaning
Follow each damp pass with a dry microfiber cloth. Pay extra attention to the slat edges, the bottom rail, and any grooves where moisture can linger. Leave the blind tilted open enough for air to circulate while the surface finishes drying.
Do not close the blind tightly until it is completely dry. Immediate drying limits water exposure and makes it easier to catch streaks while they are still simple to remove.
Handle stains, grease, and buildup
Spot cleaning is safer than treating the whole blind when only a few areas are marked. Fingerprints often respond to a barely damp cloth, while kitchen film may need several light passes. Patience works better than increasing the strength of the product.
Lift fingerprints and everyday marks
Start with a dry microfiber cloth, then use a barely damp corner if the mark remains. Hold the slat steady and wipe once or twice in the direction of the grain. Dry the area immediately so the spot does not become a visible ring.
Avoid polishing around a mark with a large amount of product. That can create a patch with a different sheen from the rest of the slat, particularly on stained wood.
Remove kitchen grease without soaking the wood
Grease near a range or sink usually needs repeated light cleaning. Use a mild, compatible solution on the cloth and work in small sections, changing to a clean part of the cloth as residue lifts. Keep the cloth damp enough to cut the film but never wet enough to drip.
These simple habits make the process more predictable:
- Remove loose dust before touching a greasy area.
- Clean from the outside of the mark toward its center.
- Rinse or replace the cloth when it feels oily.
- Dry each section before moving to the next.
The extra pass may feel slower, but it protects the finish and avoids spreading grease across several slats. If the film is widespread, professional advice is safer than experimenting with degreasers.
Address stubborn spots without using abrasive products
A stubborn mark should not automatically lead to a rough sponge or scouring powder. Test a mild method again, allow it a little time to loosen the residue, and lift gently with a soft cloth. Never scrape dried material with a blade or fingernail.
If the spot remains, document its location and ask the manufacturer, installer, or a window treatment professional what the finish can tolerate. This is especially wise when the blind is painted, heavily stained, or still under warranty.
Avoid common wood blind cleaning mistakes
Most finish damage comes from too much water, too much pressure, or the wrong chemical. The mistakes are easy to make because wood blinds resemble surfaces that can be washed more aggressively. Treat the slats as finished wood, not as a removable plastic fixture.
Keep wood away from excess water and steam
Do not soak real wood blinds, hose them down, or use a steam cleaner. Moisture can affect the finish and may contribute to swelling or warping. This matters even more near a steamy shower, a kitchen sink, or a frequently opened window.
If moisture gets onto a slat accidentally, wipe it dry at once. Check the room’s ventilation too, since repeated damp conditions can be harder on wood than one careful cleaning.
Skip harsh chemicals and rough scrubbers
Avoid bleach, solvent-based cleaners, abrasive powders, steel wool, and rough sponges unless the product instructions explicitly approve a method. Do not mix cleaning products. A cleaner that is safe for glass, tile, or faux wood may not be appropriate for a wood finish.
A soft cloth may require a little more time, but it gives you better control. When in doubt, choose less product and test first.
Prevent streaks, warping, and finish damage
Streaks often come from excess solution or a dirty cloth. Warping risks increase when water remains on the slat or when the blind is exposed to high moisture repeatedly. Finish damage can also come from polishing too hard in one small area.
Use a light touch, work in sections, and let the surface dry between passes. Gentle, consistent care is more reliable than an occasional aggressive cleanup.
Maintain clean wood blinds over time
A little routine care keeps dust and residue from becoming a restoration project. The best schedule depends on the room, the household, and how quickly the slats collect dust. Set a rhythm you can actually maintain rather than waiting until every slat looks gray.
Set a practical dusting schedule
Dust living-room and bedroom blinds about once a week or whenever you notice a visible layer. Windows near an entryway, fireplace, or busy road may need attention more often. A quick dry pass is usually enough between deeper spot cleans.
Build the routine into another task, such as changing bedding or dusting the sill. The blinds maintenance guide is also a useful reference when you need a simple reminder of regular care, although its material-specific advice should be followed only for compatible products.
Manage humidity in kitchens and bathrooms
Real wood is usually a better fit for drier rooms than for areas with frequent steam. Use ventilation fans during cooking and bathing, keep splashes away from the slats, and dry condensation from nearby surfaces. If a room stays humid, ask a window treatment professional whether a moisture-resistant alternative would be a better match.
Made in the Shade describes its Faux Wood Blinds as more resistant to moisture and damage, making that type worth considering for high-humidity areas such as kitchens and bathrooms. Choose based on the room’s conditions, not just the look you want.
Know when to contact a window treatment professional
Call for help when slats are warped, the finish is peeling, the tilt mechanism binds, or a stain does not respond to gentle care. Professional guidance is also sensible for unusually tall windows, delicate custom finishes, or blinds that are difficult to remove safely.
If cleaning reveals that the window treatment is no longer right for the room, you can request information about custom options and get advice on fit, material, and installation. A careful consultation can prevent another expensive mismatch.
Conclusion
Clean wood blinds with a dry-first approach, minimal moisture, immediate drying, and steady attention to the finish. Identify the material, follow its care instructions, and ask for professional help when the problem goes beyond routine dust and spot cleaning.
Frequently Asked Questions
Can I use water to clean real wood blinds?
Use only a barely damp cloth unless the manufacturer’s instructions say otherwise. Apply the moisture to the cloth, not directly to the slats, and dry each area immediately.
How often should wood blinds be dusted?
A weekly dusting works well for many homes, while dusty, busy, or high-traffic rooms may need more frequent attention. Adjust the schedule when you see buildup rather than waiting for a deep clean.
Can I steam-clean wood blinds?
Steam cleaning is generally not a safe choice for real wood blinds because heat and moisture can affect the finish and shape. Check the product instructions before using any steam-based method.
What is the safest cloth for wood blinds?
Use a clean, soft microfiber cloth or another lint-free cloth. Avoid cloths with rough seams, trapped grit, or abrasive texture that could scratch the finish.
How can I remove grease from wood blinds?
Dust first, then use a mild compatible solution on a barely damp cloth. Work in small sections, repeat lightly if needed, and dry each section instead of soaking the slats.
Should I clean both sides of each slat?
Yes, dust and residue collect on both surfaces. Clean one side with the slats tilted, then reverse the tilt and repeat gently on the other side.
When should I replace rather than clean wood blinds?
Consider replacement when slats are badly warped, the finish is extensively damaged, or the operating hardware no longer works reliably. A window treatment professional can help determine whether repair or replacement makes more sense.
Caring for other shade types? See our complete shade care guide for roller, cellular, Roman, woven wood and motorized shades.